And I even decided to take a little time to put together a little tutorial for y'all.
Paint the inside and outer edge of the bracelet. You can paint the whole thing, but I am lazy and it will just get covered.
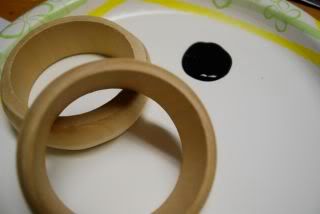
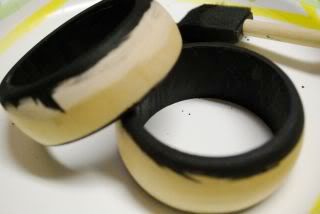
Step #2
Tear patterned paper (I used vintage sheet music) into small bits and apply with Modge Podge. Apply liberally and coat one additional time after the first coat is dry. I only attached my paper to the part of the bracelet that was not painted, leaving a bit of paint showing on the side.

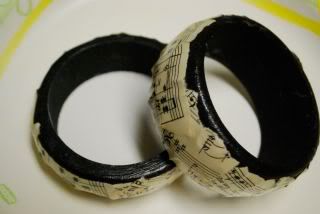
Step #3
Using silver paint and gold Pearl-Ex (cuz I couldn't find my gold paint) I lightly dry brushed one bracelet with silver along the edges and rough parts. I did the same technique with the Pearl-Ex but mixed it with a bit of clear sealant. Get help from a Goose.
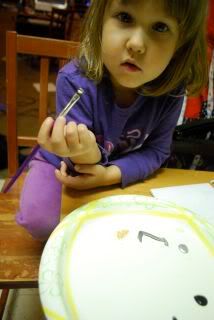
Step #4
Allow to dry. Once gold/silver paint is dry, apply a multi-purpose sealer to the entire bracelet. One-two coats is more than enough. Dry overnight and wear with some fab accessories tomorrow. Give the other to a friend, cuz she'll love it!
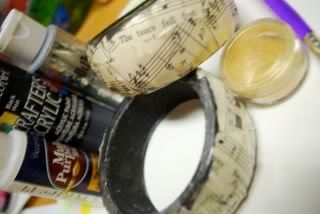
Modge Podge will also work as a sealant if thats all you have. But I find that sometimes it can remain a little tacky, even if "fully dry" so I like to add a multi-purpose sealer (found with the rest of the acrylic paints) on the top. It adds strength to the bracelet (which you should still try NOT to get wet) and will get rid of any tacky-ness from the MP.
PS - As always, with Modge Podge it is always best to let your project sit and dry overnight! I cannot stress this enough. The paper will bubble and curl and won't lay flat when its wet. It just won't, no matter how much you mess with it. 98.9% of the time, after my projects dry overnight, the bubbles and wrinkles have worked themselves out. And if they don't then you pull out some ribbon or some embellishments and you cover it and make it pretty!!!


No comments:
Post a Comment